Showing posts with label bread. Show all posts

Tuesday, April 2, 2013

Back at it with Lemon Cranberry Scones!


After too long of a break, I am back at photographing the creations that have been occurring in our kitchen.  I don't know why but I just didn't feel like blogging for a while.  I think sometimes it is nice to know you have the option to do something and are not obligated to do it.  I, like everyone else, am committed to many people and things. I am committed to my husband, my family, friends, work, watching television (oh, that's where my time went!), church, and so on.  And with so many commitments, I like to know that I can choose or not choose to do some things in my life.  Today I am choosing to blog.  I hope I can be more consistent.  I promise I will try.

So not last weekend but the weekend before, I was scheduled to run in my first ever 5K.  I was very nervous about this but my sweet mother, father, and sister came all the way down here to support me.  My sister even volunteered to run too!  What a champ!  However, the rain gods were not supportive of this run actually happening.  There was so much lightening and thundering they cancelled the entire event!  3,000 women were signed up to run and were not able to.  This decision was definitely understandable when considering the weather but sad at the same time.  I had "trained" for the six weeks prior in order to be ready (or as ready as I could be) for this race.  After learning it was cancelled, I immediately signed up for the next 5K I knew about as to not put all this "training" to waste.  This new 5K is coming up this Saturday morning.  Please send me lots of good wishes, fast speeds, and no tripping thoughts as I attempt to complete this 2013 goal of mine. 

While my mother was visiting that weekend, she helped me make some breakfast items for the hospitality table at church.  She suggested I make a scone (daughter like mother) and I said, "yes, please."  She had previously sent me a recipe for lemon and cranberry scones from the Smitten Kitchen website.  Here is the link: Meyer Lemon and Cranberry Scones  As usual, my mother has wonderful taste!  These scones were light, delicious, and perfect for a spring morning.  I got many compliments on them from the church crew.  If you are needing another scone recipe from this blog site, I would definitely give these a chance.  (I think I am going to have a complete encyclopedia of scone recipes by the end of this process.)  I hope you enjoy!


Monday, March 4, 2013

White/Wheat/Scrumptious Bread

It is that time again.  Time to break out the bread machine!  A homemade piece of bread is just a wonderful way to enjoy a bowl of soup, a piece of cheese, or an afternoon reading.  Who doesn't need a little more bread in their life? 

The above picture is the beginning (and almost only) step in making bread via a my sweet and awesome bread machine.  It is really quite magical how I just put all the ingredients together in one big metal pan and within four hours I have steaming homemade bread.

I have found a bread recipe on Food.com that is my go-to bread recipe for all occasions.  It is called Country White Bread.  Here's the link: Country White Bread (or Dinner Rolls)  As you will see when reading through the steps, this recipe can be made into a loaf of bread or into dinner rolls.  I have never made the dough into dinner rolls because it seems like too much work.  Why take the dough out of the machine, roll it around, let it rise, and then bake, when you can just let it bake in the machine on its own?  I say be lazy.  The lazy route has only been deemed as successful in my book. (I am speaking to bread making at this moment. Not life in general just to clarify.)

This weekend I wanted to make some bread so I knew where to go for my bread recipe.  However, I also wanted to add some whole wheat flour to the recipe to make it slightly healthier.  I replaced half of the regular white bread flour with whole wheat flour.  Even with the addition/substitution, the bread turned out fluffy, slightly sweet, and filling.  Again, I would like to say that this bread machine has changed my life.  (Thanks, Mom!)  If you don't have one, it is a wonderful investment and so much fun to have around. 


          ...............

Country White Bread
taken from Food.com

1 cup water plus 1 tablespoon water (70-80 degrees)
1 large egg
4 1/2 teaspoons vegetable oil
3 1/4 cups bread flour
1/4 cup sugar
1 1/2 teaspoons salt
1 1/2 teaspoons instant yeast

In bread machine pan, place all ingredients from flour through yeast in order as recommended by the manufacturer. (Most recommend placing the wet ingredients on top of the dry ingredients.)

Select the basic bread setting. Check dough after 5 minutes of mixing, if needed add 1-2 tablespoons of water or flour. (I have never needed to do this.)

Bake as normal. 

          ...............

Tuesday, February 5, 2013

Bread Machine Cinnamon Rolls


As I have mentioned before, some Sundays I get to make the breakfast treats for the hospitality table at our church.  A couple weeks ago I decided I wanted to make tiny little cinnamon rolls as one of my hospitality treats.  Although I love the taste of fresh bread and think it is one of the best things in the entire world, I hate to wait while the dough is rising.  It just seems like such a process to me.  With that complaint, here is where my sweet and awesome bread machine steps in.

While looking on allrecipes.com for a cinnamon roll recipe, I was specifically drawn to one that allowed me to make the dough in my bread machine.  The reviews for this recipe were out of this world.  People seriously claimed the recipe tasted like a Cinnabon.  Here is the link to the recipe:  Clone of a Cinnabon.  As you can see, even the name reflects the high standard of deliciousness that is set from the very beginning.

The original recipe yields 12 regular sized cinnamon rolls.  While reading it over, I definitely knew that I needed more than 12 rolls to feed our group at church.  I also knew that I couldn't double the dough ingredients because the dough would literally explode out of my bread machine.  Instead of doubling the dough and/or making two separate batches of dough, I decided to just make a regular amount of dough and after it had finished it's time in the bread machine, I would split that dough in two sections.  I then took one of the two sections and rolled it out nice and thin.  Once the cinnamon and butter were spread onto the dough and it was rolled into it's cinnamon bun formation, I would then just make smaller slices in the roll.  This worked out like magic for me!  I ended up splitting and slicing the dough enough to get 50 cute, little cinnamon rolls.  The pictures don't even do justice to how small and adorable they were.

Because I iced the cinnamon rolls at church, I didn't get to take a photo of them.  So instead of actually seeing the iced rolls, imagine tiny little cinnamon rolls with just a good amount of sweet cream cheese icing.  Yum!  These bite-sized cinnamon rolls were quickly eaten up with not even one being left at the end of the service.  My ego was satisfied with this success.  I can't wait to try them again!  I hope you enjoy.


Sunday, January 6, 2013

Almond Scones: A Sweet Morning Treat


I love scones.  If I could eat them every day for breakfast, I swear I would do it.  Give me a scone, banana, and a cup of coffee and you've got yourself a happy woman.

A couple weeks ago I got to make this scone recipe for our church hospitality table.  The original recipe I was trying to replicate called for about half the amount of ingredients and a lot of orange flavoring. While I love all scones, including orange ones, I much prefer an almond or chocolate chip scone to a fruit flavored one.  I also had almonds left over from the Almond Layer Cake so I decided to change the original orange scone recipe around, add some whole wheat flour, take out all the orange flavoring, and add in a touch of almond. With those changes, I found myself with an almond scone spectacular!

This recipe is awesome because it is so easy to make 40 small scones in a really short amount of time.  It takes about 5-10 minutes to mix all the ingredients together, separate the scones into sections, and put them on baking sheets. I would like to say I do not strive for a the typical scone shape.  If you are looking to make a perfectly shaped scone, it might take you a little longer in the preparation phase.  Whatever shape you choose, these scones are really good.  They aren't too sweet and have a nice light texture to them even with the whole wheat flour.  If you have a reason to try them, I hope you enjoy!


          ...............

Almond Scones
(makes approximately 40 small scones in about 40-45 minutes)

2 cups white flour
2 cups whole wheat flour
2 tablespoons baking powder
1 teaspoon baking soda
2 teaspoons salt
1 teaspoon nutmeg
1 cup milk
3/4 cup almonds, chopped
2 teaspoons almond extract
2 sticks of butter, soften

Preheat oven to 350 degrees.  

In a large bowl, mix together the flours, baking powder, baking soda, salt, and nutmeg.  Make a well in the center of the flour mixture.  Add the milk, almonds, and almond extract to the flour mixture. Mix together.  Next, add the butter and mix until combined. 

Once dough is mixed thoroughly, take and pat into a ball shape.  Using your hands, separate dough into eight even sections.  Take each of the individual sections and separate that dough into five additional sections.  (This will allow about 40 small scones to be made by the end.)  Shape the small sections into scones and place on a cookie sheet.  Leave about 1.5 inches between each scone to allow for rising.  Bake for 12-15 minutes or until lightly browned on the bottom.  Serve warm or cool.  Enjoy!

          ...............

Saturday, October 20, 2012

Saturday morning biscuits


Today I would like to share my new favorite breakfast item of the moment: an egg biscuit.  It is simple, classic, and full of protein.  (Okay, maybe not full of protein but I say that to justify my love for them.)

This morning when the craving hit me, I decided not to deny it but to embrace it!  I had nothing pressing to do so I thought I would actually try to make my own homemade biscuit for a change.  After looking through a couple biscuit recipes, I put together the little recipe below.  It was super easy to make and took less than 20 minutes from start to finish.  Because most of the biscuit recipes online make enough for twelve biscuits, my ingredients may look sparing.  This recipe only makes about four biscuits which was a perfect size for two people.  Two people, two biscuits each.


For my egg, I attempted to make it over medium with one full egg and one egg white.  After adding the egg to the pan, I left the room for a minute and cooked it a little long.  When cooking your egg, I would suggest you actually stay nearby as to not overcook it.  I guess I temporarily forgot that eggs cook in a flash of a second. Because the biscuits are small, I actually split the cooked egg in half, putting half on one biscuit and half on my second biscuit.  This little breakfast meal was a perfect way to start a Saturday!  I hope you enjoy.


         ...............

Simple Saturday Morning Biscuits

3/4 cup flour
1 teaspoon baking powder
1/4 teaspoon baking soda
1/2 teaspoon table salt
2 tablespoons butter, cut into 1/2 tablespoon sections
1/3 cup milk

Preheat oven to 450 degrees.  Add flour, baking powder, baking soda, and salt to a bowl.  Mix well.  Add sectioned butter to the flour mixture.  Using a fork, cut the butter into the flour mixture until lumpy.  Add milk.  Stir until mixed but not too much more.  Cut dough into four sections and roll with hands into a biscuit shape.  Bake for 10 minutes. 

          ...............

Saturday, September 22, 2012

Rosemary bread


For the past five days our house has smelled fresh, piney, and just plain good.  'Why?' you might ask.  Well, let me tell you.  It is because I have been drying some rosemary that my friend, Lily, passed along to me.  Because I was on that work retreat the past couple days, I was unable to do anything with it up until this morning.  When Lily gave me the rosemary, she said she was currently in the process of making a rosemary bread recipe off of allrecipes.com in her bread machine.  She was making it in her bread machine!?!  The machine that allows the easiest homemade bread to be made with a very minimal amount of work!  Oh man, I knew at that point that I needed to try it too.

This morning it took me about 15 seconds to find the recipe she had mentioned.  It is called "Jo's Rosemary Bread Recipe" and has received over a thousand reviews on allrecipes.com.  Below is the recipe and the link:  http://allrecipes.com/recipe/jos-rosemary-bread
       
          ...............

Jo's Rosemary Bread Recipe

1 cup water
3 tablespoons olive oil
1 1/2 teaspoons white sugar
1 1/2 teaspoons salt
1/4 teaspoon Italian seasoning
1/4 teaspoon ground black pepper
1 tablespoon dried rosemary
2 1/2 cups bread flour
1 1/2 teaspoons active dry yeast

Place ingredients in the pan of the bread machine in the order recommended by the manufacturer.  Select white bread cycle; press Start.

          ...............

As you can see from the top picture, my bread definitely turned out lopsided (and kind of looks like an alien/dinosaur).  However, despite it's disfigurement, it is delicious!  I brushed on a little bit of olive oil and sprinkled it with salt after it was done. This only enhanced it's rich flavor.  If you have a bread machine and a little bit of rosemary hanging around, I would definitely recommend giving this bread a try.  It would be especially delicious with an Italian dinner.  Enjoy!


Sunday, September 16, 2012

Preparing for Hospitality

I am on the Hospitality team at my church.  This means that every couple months I get to prepare about 60-75 servings of a breakfast item for the church members to snack on before the service begins.  For this week's hospitality I decided to make two items.  One was definitely going to be an old favorite, "Playgroup Granola Bars" from allrecipes.com.  I had a couple zucchinis in the fridge so for my second item I thought I would break out my Aunt Deb's Zucchini Bread recipe.

Below is the "Playground Granola Bars" recipe.  (http://allrecipes.com/recipe/playgroup-granola-bars)
Although I have recently not been doing super great at Weight Watchers, I often like to substitute oil and sugar for applesauce and agave nectar whenever I can because they are less points on the Weight Watchers scale.  I have made these bars both ways and they are tasty whichever way you prefer!   When I made them yesterday, I found that they only needed about 20 minutes to bake instead of the 30-35 minutes listed in the directions.  I can't remember if this is a normal occurrence when making these bars or if I just had my oven up too high.  Matt has given this recipe a consistent 4.5 out of 5 chicken wings every time I make it. 

          ...............

Playgroup Granola Bars

2 cups oats (instant or rolled)
3/4 cup packed brown sugar
1/2 cup wheat germ
3/4 teaspoon ground cinnamon
1 cup all-purpose flour
3/4 cup raisins (optional)
3/4 teaspoon salt
1/2 cup honey
1 egg, beaten
1/2 cup vegetable oil
2 teaspoons vanilla extract

1. Preheat the oven to 350 degrees.  Generously grease a 9x13 inch baking pan.
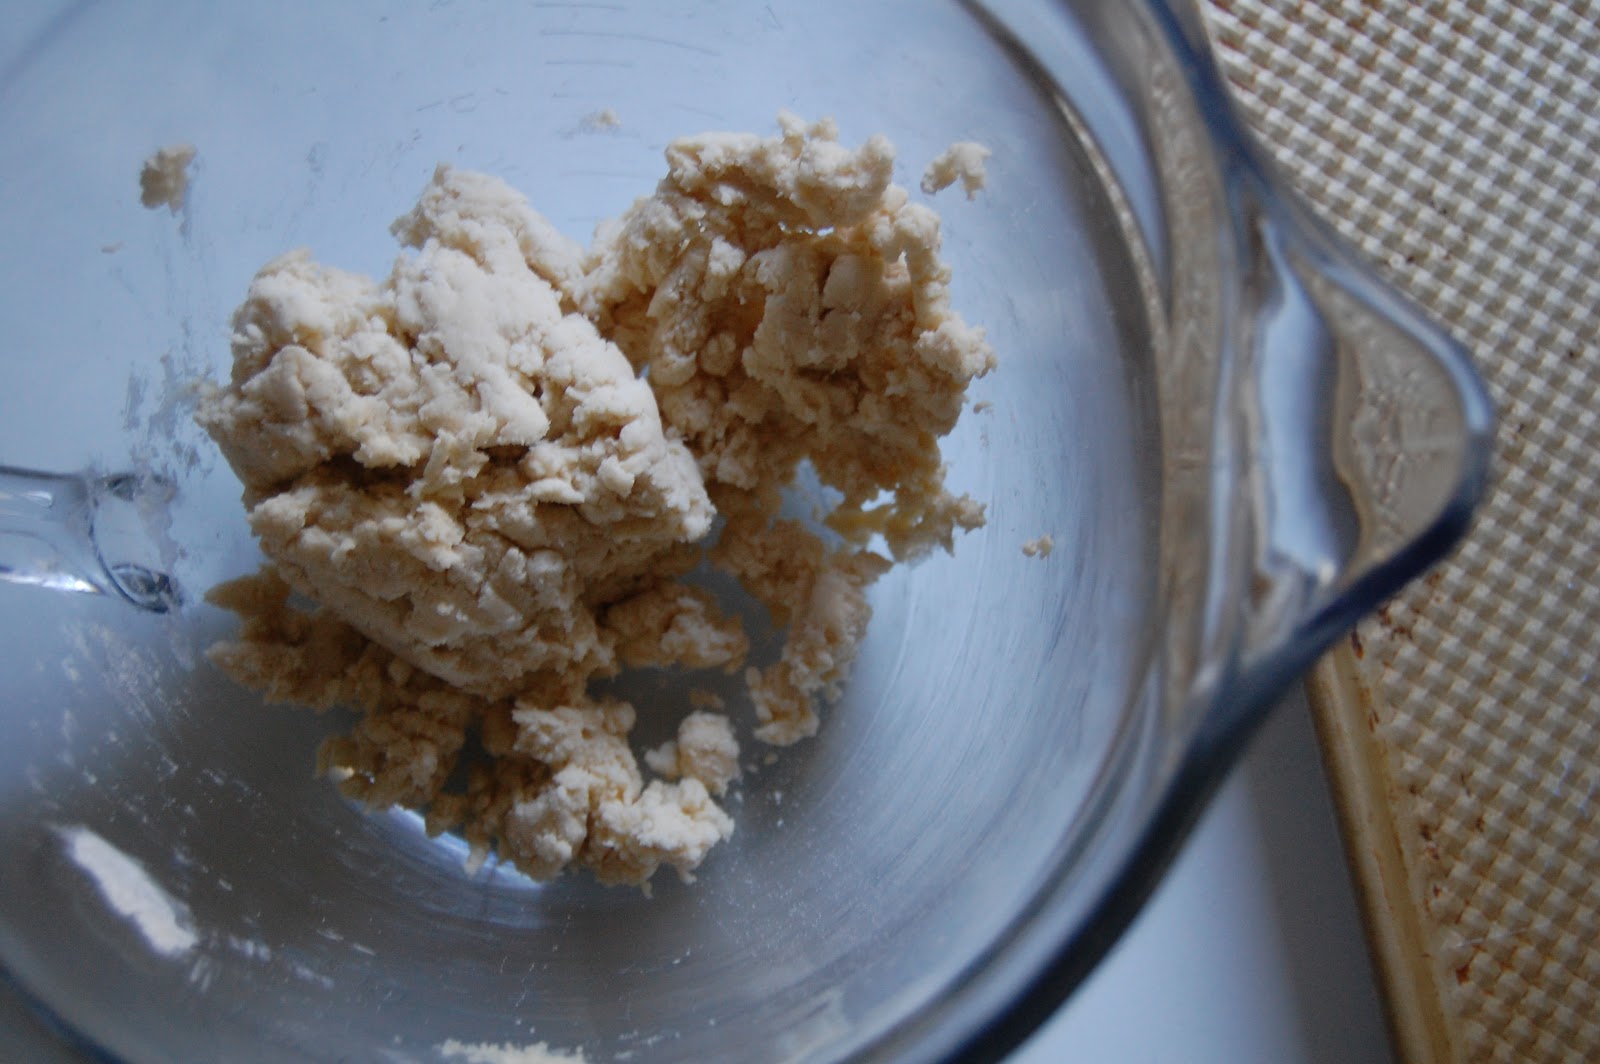
2.  In a large bowl, mix together the oats, brown sugar, wheat germ, cinnamon, flour, raisins, and salt.  Make a well in the center, and pour in the honey, egg, oil, and vanilla.  Mix well using your hands.  Pat the mixture evenly into the prepared pan.
3.  Bake for 30 to 35 minutes in the preheated oven, until the bars begin to turn golden at the edges.  Cool for 5 minutes, then cut into bars while still warm.  Do not allow the bars to cool completely before cutting, or they will be too hard to cut.

          ...............

Here is a picture of the final result!


I am including my aunt's Zucchini Bread recipe in this post as well.  Sorry there is not a photo.  I forgot to take any pictures of the process and the actual muffins because I made them late last night.  Oh, and the original recipe is called Zucchini Bread, you read that correctly.  I realized after looking for bread pans around 10:15pm last night, we don't actually have any.  Therefore, in a quick decision making moment, I made muffins instead!  Changing the Zucchini Bread into Zucchini Muffins ended up changing the bake time from about 60-75 minutes down to 20-25 minutes.  That was definitely a nice surprise at that time of night!  

          ...............

Deb's Zucchini Bread (or Muffins if you don't have any bread pans)

3 eggs
2 cups sugar
1 cup oil
2 cups flour
1 teaspoon salt
1/4 teaspoon baking powder
2 teaspoons baking soda
1 tablespoon cinnamon
1 teaspoon vanilla
2 cups raw, grated zucchini
1 cup nuts, chopped pecans

1.  Preheat oven to 325 degrees.  Grease 2 bread loaf-sized pans. 
2.  Beat eggs add sugar and oil.  Add remainder of ingredients.  Bake for 60-75 minutes.
3.  Enjoy!

          ...............

I will let everyone know that although I love both of these recipes, everyone at church seemed to really like both of these recipes too.  Wes, a longtime friend, actually turned to me during the service and asked if I knew who made the Zucchini Muffins.  When I said I had, he said they were soooo good (which is a lot of emotion coming from Wes) and that I needed to bring more of them to small group on Monday night.  Thanks Aunt Deb!  I appreciate your help in keeping/making friends.