Thursday, March 31, 2016

Quinoa Zucchini Egg Muffins-A Breakfast Delight!


Because I head to work at 7am and work 12 hour shifts, I basically take a refrigerator's worth of food to work with me each day.  Matt seriously makes fun of me sometimes because of how large my breakfast/lunch/snack bag is.  And I will be the first to admit, my breakfast/lunch/snack bag is really large.  I mean, it's seriously huge some days.  Recently I came across a recipe for Pecan Quinoa Zucchini Frittatas in The Forest Feast, a book I mentioned in a post on Carrot Zucchini Ribbon Pasta a couple weeks ago. (BTW- this recipe is still in the weekly rotation in our home. It's still that good. We had it tonight.  I am not kidding.  It's really good.)  I immediately knew that these egg muffins would be a fine addition to my workday weekend food bag.  

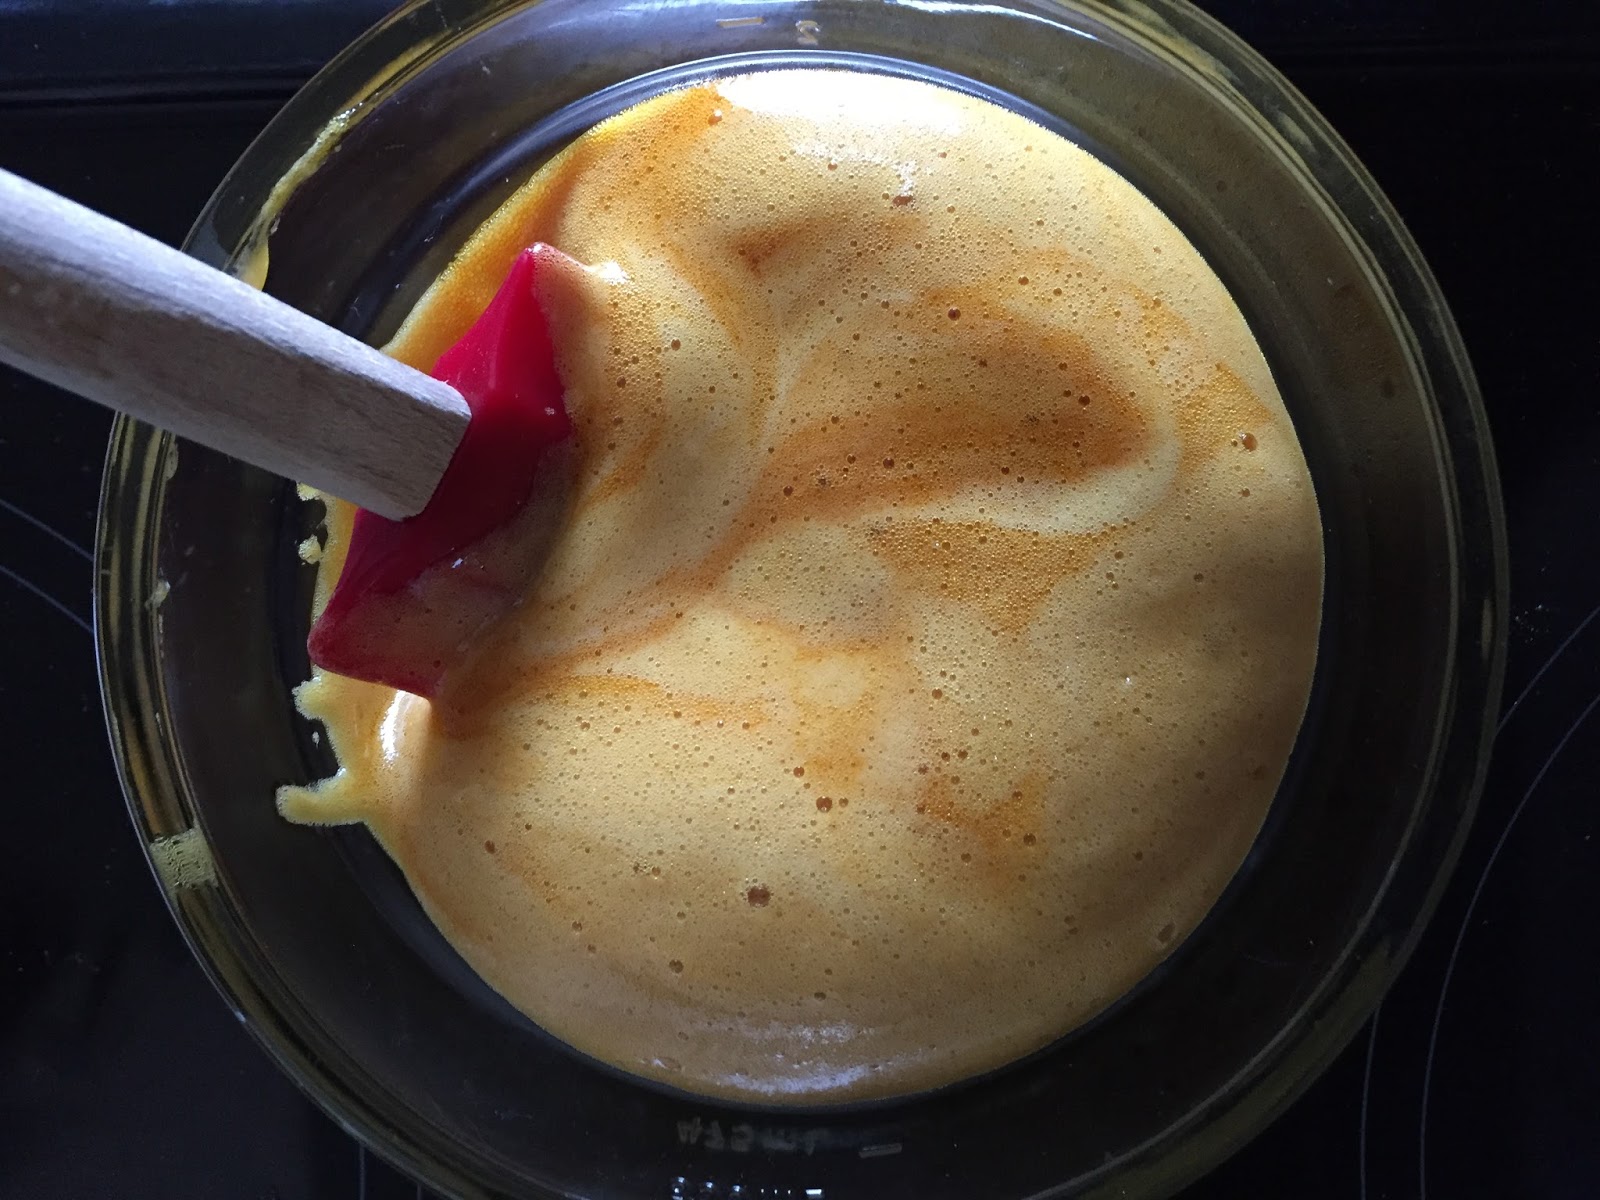
Man, I was not wrong.  They were a mighty fine addition.  These little egg muffins of joy are hearty, delicious, and full of protein.  I have made several varieties of these egg muffins and have enjoyed each of them.  I basically sautee any vegetables I have in the fridge, add the veggies to two cups of quinoa and 4-6 eggs, add some additional spices to the mix, and bake these beauties up for 20-25 minutes in a 350 degree oven.  And they aren't bad for you (as long as you don't add a block of cheese or anything.) I am currently doing Weight Watchers to help loose some of my baby weight.  According to the recipe guide, these sweet little breakfast cups of protein range from 2-3 points per muffin depending on what you put in them.  The ones pictured are 3 points each.  Recently I have been sticking with quinoa, veggies, and egg which keeps each muffin at 2 points each.  Heck yes!  I will have ten, please.  (Okay, maybe three instead.  I need to keep myself in control of the breakfast/lunch/snack bag overload a little bit at least.)

These muffins have now joined my Friday-prep-for-the-weekend-meals routine.  I have been enjoying these with a banana or raspberries and on special days, a decaf soy latte.  I have definitely noticed I am not starving approximately two hours later like when just eating cheerios or oatmeal for breakfast.  This recipe is super easy to adapt to whatever you have in your fridge.  If you try a variation on this recipe, let me know.  I am always looking to try something new!  I hope you enjoy!


          ***************

Quinoa Zucchini Egg Muffins
-Adapted from Pecan Quinoa Zucchini Frittatas from The Forest Feast by Erin Gleeson

1/2 cup of dry quinoa (approximately 2 cups when cooked)
2 zucchinis, grated
4 eggs
1/2 cup of fresh grated parmesan (or your cheese of choice)
1/2 teaspoon of salt
1/8 teaspoon of ground pepper
1/4 teaspoon of garlic powder

Preheat oven to 350 degrees. Mix all of the ingredients together.  Spoon into greased muffin tins or into paper liners. Bake for 20-25 minutes until egg is set.  Makes 8-9 muffins.

          ****************

Wednesday, March 23, 2016

Five Layer (or Four Layer) Honey Cake


Oh man!  I have found the cake of my springtime dreams.  This Five Layer Honey Cake from Love, Cake is blowing me away right now.  It is light, airy, fluffy, crazy good, and just the right amount of sweet.  And it tastes just like a Honey Teddy Graham in a grown-up cake form!  I made this cake when we had some friends over for dinner last night.  These friends really appreciate good food and I really appreciate their appreciation for it.  It is a wonderful circular relationship of appreciation.  When trying to figure out what I was going to make for dinner, I came across this Five Layer Honey Cake on Love, Cake.  I wasn't sure what we were going to have for the actual dinner but I immediately knew we were having this cake for dessert.  

This cake went over like a dream.  I cannot wait to make this cake again soon.  It would be perfect for Easter dinner now that I think about it...  The link to the recipe is listed above.


In the first part of the recipe, you add baking soda to warmed honey.  When you add the baking soda to the honey, it will instantly become really foamy.  It is an amazing reaction to watch.


Look how fluffy and golden this honey and baking soda mixture is!


I ended up making four layers instead of five layers.  In order to get all the layers the same, I measured out equal amounts, two in my baking pans and two in separate bowls to bake in the second round of baking.   I only have two 8 inch baking pans so I baked in two rounds.


And for the filling portion of this cake...

This is the cream cheese and honey mixture. 


Below is the whipped heavy cream.  I am still amazed that if you whip heavy cream it can turn into this magnificent creamy delight within minutes.  I used my immersion blender to whip this cream up.


Look how light and fluffy this looks!


And when the cake and filling are put together you get....


Seriously, this cake is amazing.  I would highly recommend trying it if you are needing a spring cake (or Easter cake) to impress.  I hope you enjoy!

Sunday, March 20, 2016

Carrot and Zucchini Ribbon Pasta


I love easy recipes.  I love unique recipes that think outside of the box.  I love recipes that look complicated and fancy but in reality aren't.  My sweet mother gave me a cookbook called The Forest Feast for my birthday.  The book's author, Erin Gleeson, has created a vegetarian cookbook that focuses on simple, flavorful, and seasonal foods. The recipes are unique and thoughtful.  Erin takes recipes people might be familiar with and amps up the creativity level.  For example, she has a recipe for a Ceasar salad.  Yeah, we all know what a Ceasar salad is.  In her Ceasar salad, she adds pine nuts and polenta croutons.  What wonderful, tasty additions! I am speaking from experience when writing this because I already made her Ceasar salad recipe and loved it. Also, as an added bonus, the pictures and watercolor paintings throughout the book are breathtaking.  This book is the epitome of easy, unique recipes with gorgeous pictures/paintings.  This cookbook is right up my alley.  (Thanks, Mom!)

The recipe below is a perfect example of how the author takes familiar foods and then spins a recipe to add a new perspective.  Who hasn't eaten pasta with vegetables?  Probably most people have at some point in their life.  However, this book suggests ribboning the carrots and zucchini, sauteing them with some garlic, and then adding the sauteed veggies to fettuccine with a little butter and thyme.  Heck yes!  What a delicious way to feature lots of vegetables in pasta dish!  And as a bonus, it looks spectacular when being served.   


I just used my peeler to create the carrot and zucchini ribbons.  It was so easy and took less than five minutes.  Erin's recipe below calls for two zucchini and two carrots.  I ribboned three zucchini and three carrots because I really like my veggies.


I did not have fresh thyme when cooking this so I just used a teaspoon of dried ground thyme instead.


Look how pretty this dish turned out! I just want to point out I have owned this cookbook for less than two weeks and have already made this recipe twice.  It's literally that good.  I crave it.  It is now on a rotation at our house.  One other thing I want to note about this recipe is it is really good the next day.  Because I work on the weekends, I normally make our weekend meals on Friday.  I made this dish on Friday and we ate it on a Sunday.  The garlic and thyme really melded together with the couple extra days waiting to be consumed.  I love dishes like that.  This dish is easy, quick, delicious, and really pretty.  Who doesn't love a recipe like that?  I hope you enjoy!   

          ***************

Carrot and Zucchini Ribbon Pasta
-taken from The Forest Feast by Erin Gleeson

Saute in a big skillet (medium heat, 5 minutes):
-5 garlic cloves, minced
-ribbons from 2 carrots
-ribbons from 2 zucchini
-1 tablespoon olive oil
-salt and pepper

Then add: 
-8oz dry fettuccine, cooked
-1 tablespoon chopped fresh thyme leaves (I used 1 teaspoon of ground thyme since I didn't have fresh)
-1 tablespoon butter (allow to melt)

Mix well and serve hot.

          **************** 

Monday, March 14, 2016

Beer Brownies


Looking at these pictures make me want to eat these brownies.  Right now.  At 7:59am. Even while I am battling a cold. They are that good.  Luckily for me, I still have some sitting on my counter at home.  I definitely know what I will be eating tonight while watching The Bachelor. 

On Friday, I had a chocolate craving like no other.  I was craving it so strongly that I was grumpy. Can anyone else relate to that?  I will acknowledge the ridiculousness of this situation even though it was legit at the same time.  My sweet mother had given me a really nice bar of dark chocolate for my birthday.  This dark chocolate was specifically designed for baking.  So I figured 1) I needed something chocolate ASAP and 2) I had an awesome baking chocolate bar so why not go big and make a dark chocolate chip brownie.  Heck yes! 

While googling, I found this recipe for Beer Brownies on The Kitchy Kitchen website.  Heck yes again! I had to make them immediately.  I put Owen in his little jumper bouncer thing and started baking.  


This is the super nice dark chocolate my mom got me for my birthday.  It's called Scharffen Berger Baking Bar.  It was extraordinarily good.  The bar comes in five sections.  I chopped up two of the sections for the melted chocolate portion of this recipe.  The other three sections I chopped into larger chunks to put into the brownie batter.  Who doesn't like big dark chocolate chunks in their brownies?!?


I honestly think I became a better person as soon as I tasted these warm dark chocolate and beer infused brownies.  Maybe not a better person in regards to my actual character but a better person in the sense that I was more manageable to be around.

This brownie recipe is the perfect, and I truly mean perfect, brownie to use in an ice cream sundae.  The dark chocolate and IPA additions make the brownies sweet but not too sweet.  If you added ice cream and chocolate fudge to the top of this brownie, you would be in heaven.  I promise! I have no doubt I will be baking this brownie recipe again for a family event or when we have people over for dinner.  Or maybe just on a random Friday when another grumpy chocolate craving hits... I hope you enjoy!!

          ***************

Beer Brownies
-recipe from The Kitchy Kitchen.  (I didn't follow the recipe exactly so I have included the recipe below as I made it.)

1 cup all purpose flour
1/4 cup unsweetened cocoa powder
1/2 teaspoon Kosher salt
3 1/2 ounces semi sweet chocolate (I used dark chocolate.)
8 tablespoons of butter, browned
1/2 cup stout (or any dark beer) or cold coffee (I used one of Matt's dark IPAs.)
4 eggs, at room temp
1 cup white sugar
1 cup brown sugar, packed
2 teaspoons vanilla extract
1 cup semi-sweet chocolate chips (I used dark chocolate chunks here.)

Preheat oven to 350F.

Mix flour and cocao powder together in a small bowl.  Set aside.  Melt the chocolate in a medium t to large microwave safe bowl.  Begin by heating for 30 seconds.  Stir and continue heating in 10 second increments until fully melted. Place butter in a pan over medium heat.  Melt until it turns light brown and smells slightly nutty.  Pour browned butter into melted chocolate, then add the beer.  Add the four eggs and sugars.  Beat until well mixed.  Add the flour mixture and stir until combined.  Add the vanilla.  Stir to combine.  Add the chocolate chunks and mix.  Pour into a buttered and floured 9 x 13 pan.  Bake for approximately 40-45 minutes.

          ***************


Wednesday, March 9, 2016

Tomato Carrot Soup


After I got pregnant, I got really tired. I mean like fall asleep in the middle of a sentence tired.  I mean like fall asleep on the floor because you are too tired to get up to get on the couch tired.  It was intense and almost immediate.  I was tired basically all the time.  Anyone who knows me knows I am a horrible napper.  Napping just wasn't my thing prior to pregnancy.  However, that quickly changed. I would take two hour naps and still feel like I could sleep for another six.  During pregnancy, sleep was basically the only thing I ever wanted to do.   Well, sleep and eat.  Let's be honest here.

While being oh, so tired, I started watching ABC's The Chew during the afternoon.  I would stretch out on the couch and just laugh along with Carla, Clinton, Daphne, Mario, and Michael.  Yeah, we are on a first name basis now.  There were many days when I would fall asleep with their recipes, decorating ideas, and jokes floating into my dream world.  

Since having Owen, he often gets hungry right around the time of The Chew comes on in the afternoons.  I have no problem with this because I still find the show totally entertaining and fun. The other day they featured a variation on a tomato soup recipe called Creamy Carrot Tomato Soup.  The recipe was geared for kids who are picky eaters.  I am no picky eater but I thought this recipe sounded delicious.  I decided to make an attempt at my own variation on the recipe.  While I am sure the original recipe is delicious, the tomato carrot soup I ended up with was incredible!  I ate it for lunch two days in a row and was wishing I had made more.  It was filling and light at the same time.  Because the base of the soup consisted of carrots and tomatoes, I felt really clean after eating it.  I like that feeling.  Oh, and it was ridiculously easy to make.  Who doesn't love a soup like that?  I hope you enjoy!


(And that is my little sous chef!  Although he is drooly, I promise, no drool was added to this soup.  He is super sweet though and I can't promise any of his sweetness didn't jump into the pot.)

          ***************

Tomato Carrot Soup
*adapted from Daphne Oz's Creamy Carrot Tomato Soup

7 large carrots, cut into 1/2 inch pieces
1 large onion, diced
3 tablespoons tomato paste
6 cups chicken stock
1 cup light coconut milk
1/4 teaspoon cayenne pepper
salt and pepper

Add approximately 2 tablespoons of olive oil to a large pot.  Begin heating large pot over medium high heat.  Add diced onions to pot.  Cook onions for 3-5 minutes.  Add a little salt and pepper.  Add carrots to pot and cook for an additional 5 minutes.  Add tomato paste to carrot onion mixture and stir.  Let that mixture cook together for approximately 2 minutes.  Add chicken stock to pot.  Bring to a boil, then simmer for 20-25 minutes or until the carrots are soft.  Take pot off the heat.  Using an immersion blend (or regular blender), blend the carrot mixture until mostly smooth.  Add coconut milk to carrot mixture in pot. Blend the coconut milk in.  Add cayenne pepper.  Blend the cayenne pepper in.  Add salt and pepper to taste.  Blend until smooth or desired consistency is reached.  Enjoy!

          ***************