So recently I have stopped buying hummus from the grocery store. I almost always have every ingredient on hand that we might need to whip up a batch at any given moment. I thought about it a couple weeks ago and realized I am wasting $2.99 per week by buying something we can already make at home. The only thing that I am often lacking is a some sort of pepper to add to the hummus. Matt loves spicy hummus and if I want him to help me eat some of it (which if I am being honest, some weeks I really just don't-I want to hog all the hummus to myself), I know I need to make it spicy.
So with that spicy challenge in mind, I bought a Cubanelle pepper this week at Publix. It cost me $.18. I love that price! I am working on perfecting my homemade hummus to Mat''s heat-level liking but I am pretty sure I hit the jackpot this week. (Here's a little information on the Cubanelle Pepper just in case you were interested.) I love making hummus. I love how easy it is, how versatile, and how interesting the flavors can be. Hummus is just a winner all around. I hope you like this recipe if you have the chance to make it. It literally took me less than 15 minutes from start to finish and yielded just about 2 cups. What more could you ask for? I hope you enjoy!


...............
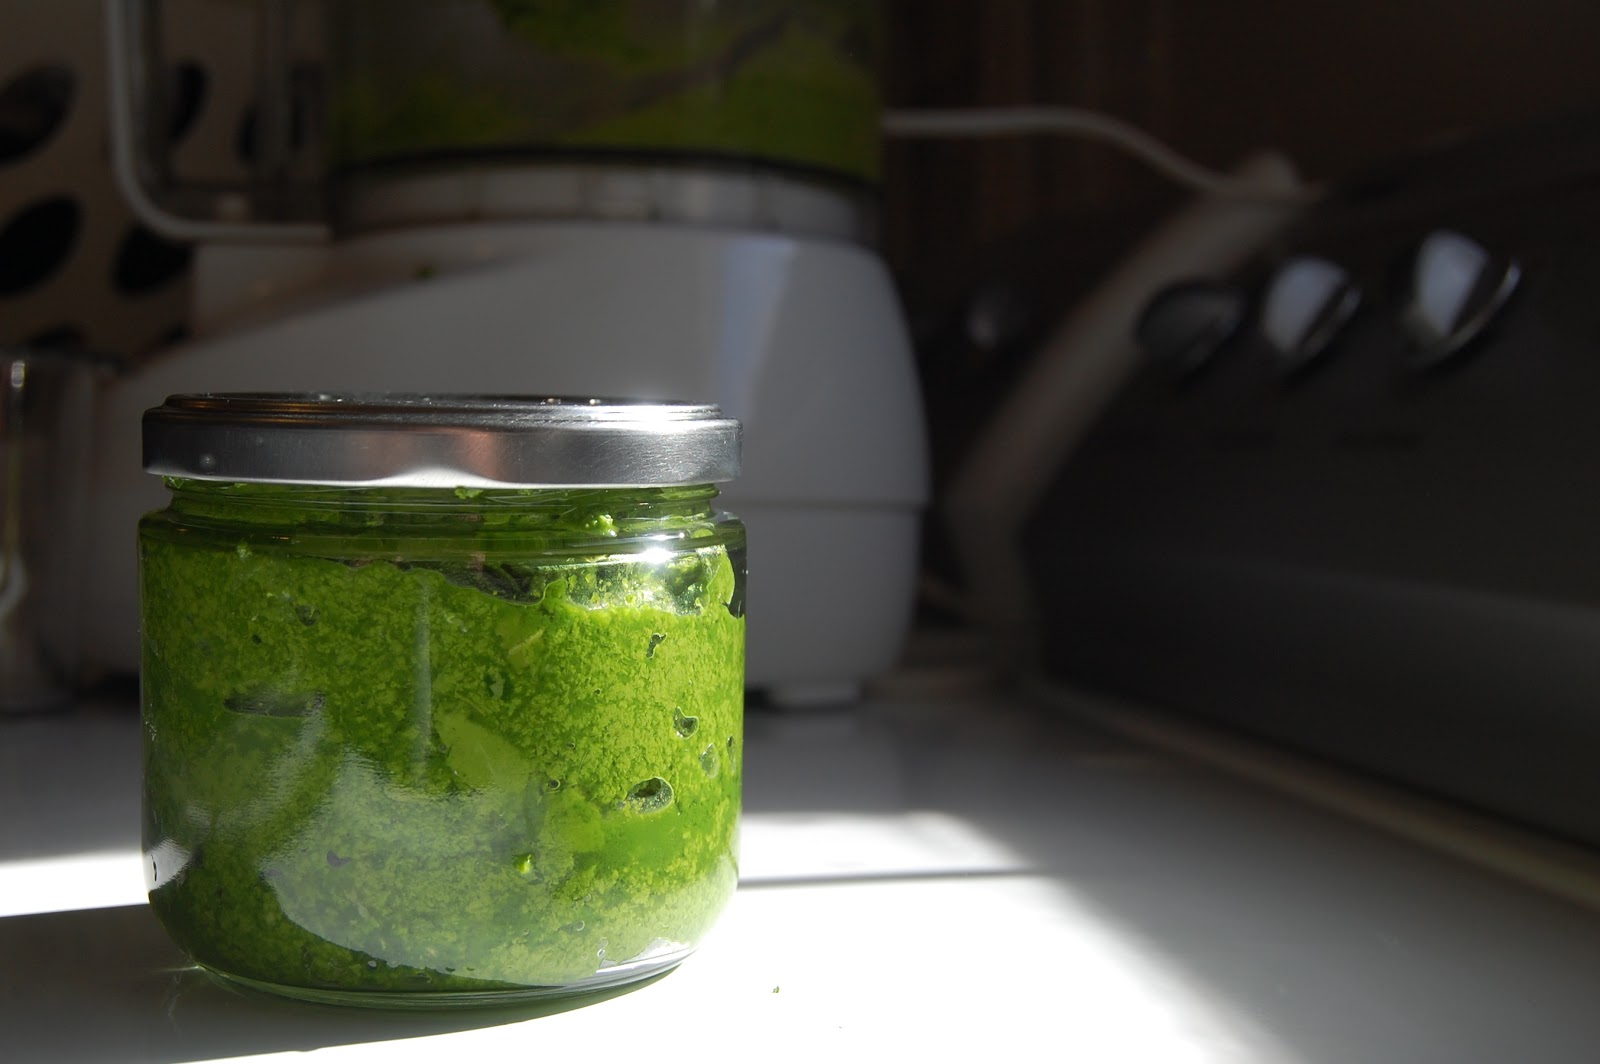
Fresh Pepper Hummus
1 medium-sized pepper (jalapeno, cubanelle, red pepper, whatever kind and hotness you prefer)
1 1/2 cups chickpeas
6 cloves garlic
2 tablespoons tahini
1 tablespoon of lemon juice
1/4 cup water
salt to taste
Seed and roughly chop the pepper. Place it in the food processor. Process until finely minced. Add the chickpeas, garlic, tahini, lemon juice, and water to the food processor. Process for approximately 4-7 minutes. This will allow for ultimate hummus creaminess. Every once in a while during the 4-7 minutes, stop the food processor, add any needed salt, and see if the desired consistency has been reached. Once desired consistency is reached, chill and enjoy!
...............