Monday, April 29, 2013

Pinto Bean Tacos with Jalapeno Feta Coleslaw


This recipe includes simple ingredients and is simple to make.  It is also vegetarian. Clearly it has all the elements of being one of my favorite type of recipes.  And it is delicious.  What a plus!

The other day I bought a bag of dried pinto beans at the store.  Since making a recipe way back that involved dried kidney beans (I can't quite remember which one), I have realized that if you soak your own dried beans over night and then cook them the next day, they taste so much better than the beans you buy in a can.  Since this realization, I have attempted to soak and cook my beans whenever possible. 

I seriously love this pinto bean taco recipe.  Matt does too which is nice.  It is a perfect dinner for these summer nights that are starting to take over Atlanta.  The beans aren't as heavy as a beef or steak taco might be and the jalapeno feta coleslaw just adds to the lightness of the dish.  If you want to add, I would probably recommend adding chicken instead of a red meat.  But if you decide to go vegetarian for the evening's meal, this is definitely one to try.  We ate these tacos with a side of Spanish rice.  Delicious!  I hope you enjoy. 


          ...............

Pinto Bean Tacos with Jalapeno Feta Coleslaw 
(makes 2 large portions or 3 smaller portions)

1 cup of dried pinto beans
2 cloves garlic (about 2-3 teaspoons minced garlic)
4-6 whole wheat flour tortillas
3 cups shredded cabbage
1 jalapeno, chopped finely
3/4 cup of crumbled fat free feta
juice from one whole lime (about 2 tablespoons)
a healthy drizzle of olive oil
salt and pepper
a couple of dashes of hot sauce (optional)

Soak pinto beans for 8 hours or overnight.  (I soaked my beans for 2 days because we had a last minute meal switch up.  Even extra soaked, they worked perfectly fine.)  Rinse beans and place them in a big pot of fresh water and bring pot to a boil.  (The water level should be about 1 1/5 inches above the beans when initially putting them in the pot.)  Cook for 40-45 minutes at a simmer or until the beans are soft.

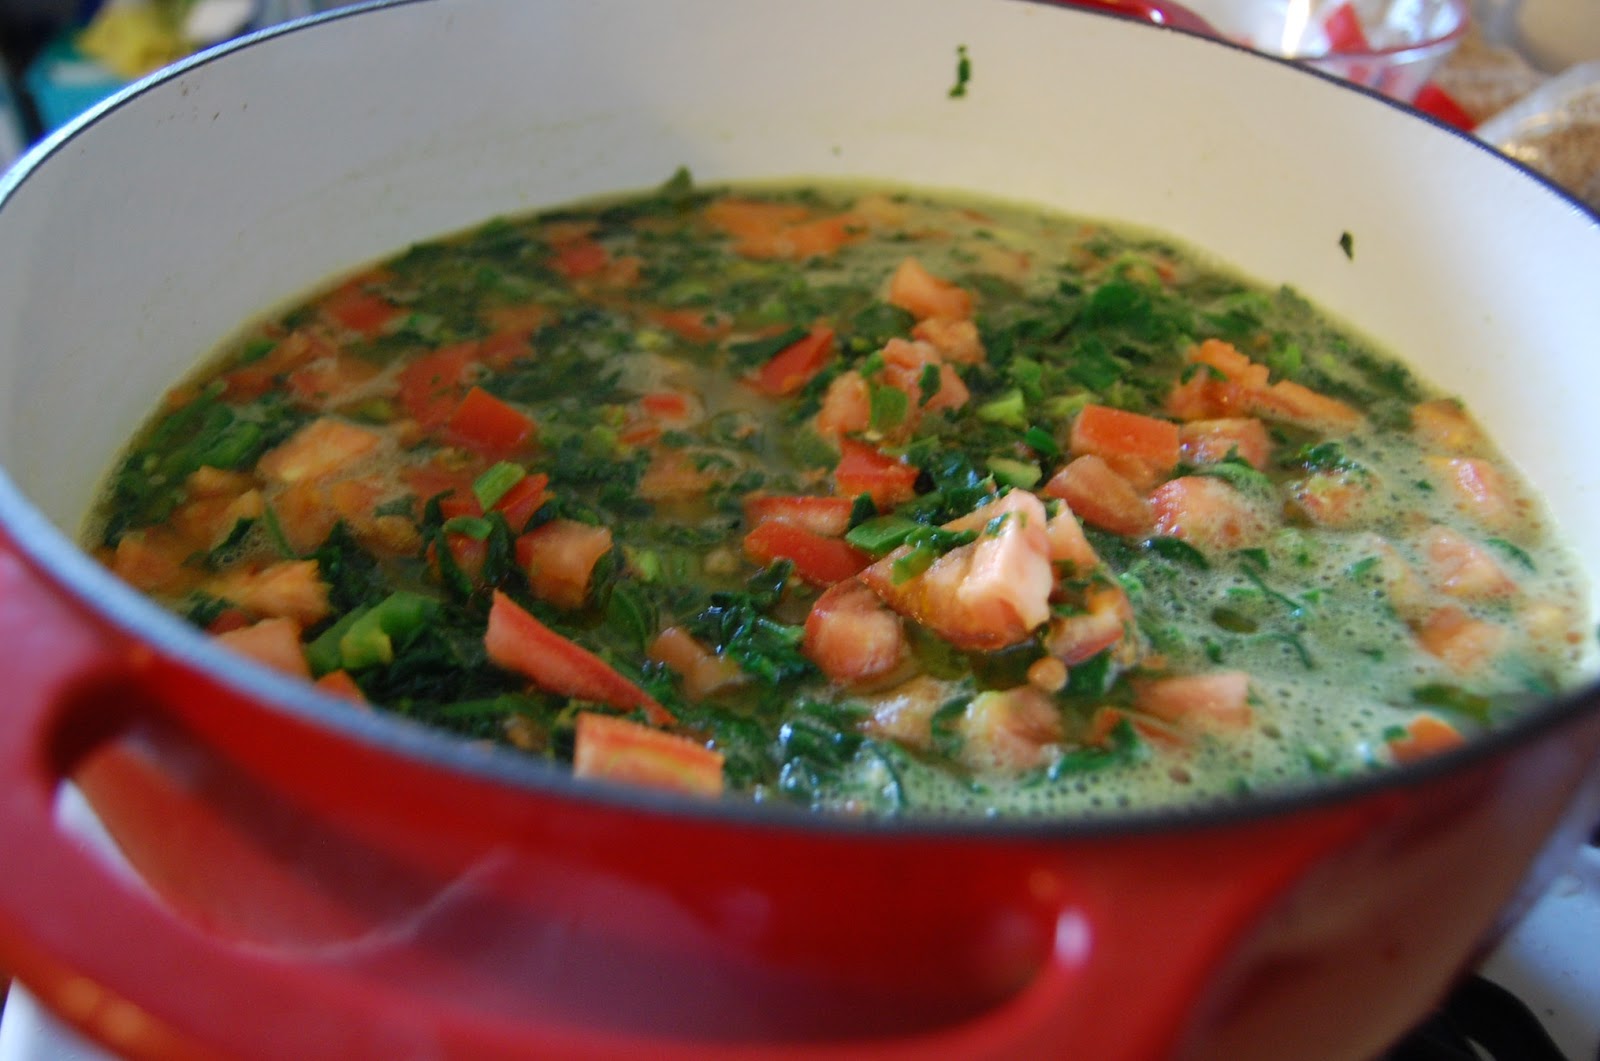
While the beans are cooking, place the shredded cabbage in a large bowl.  Chop the jalapeno finely and add to the cabbage.  Mix the jalapeno, feta cheese, lime juice, and olive oil with the cabbage.  Salt and pepper to taste.  Set this big bowl of coleslaw in the fridge to marinate until the tacos are ready to be served.

Once the beans are cooked through, drain off any extra liquid and place to the side. In a large skillet, add olive oil and garlic.  Let the garlic cook in the olive oil for a minute or two before adding the beans to the skillet.  Cook for about 5-10 minutes or until the beans are hot and slightly crisped.

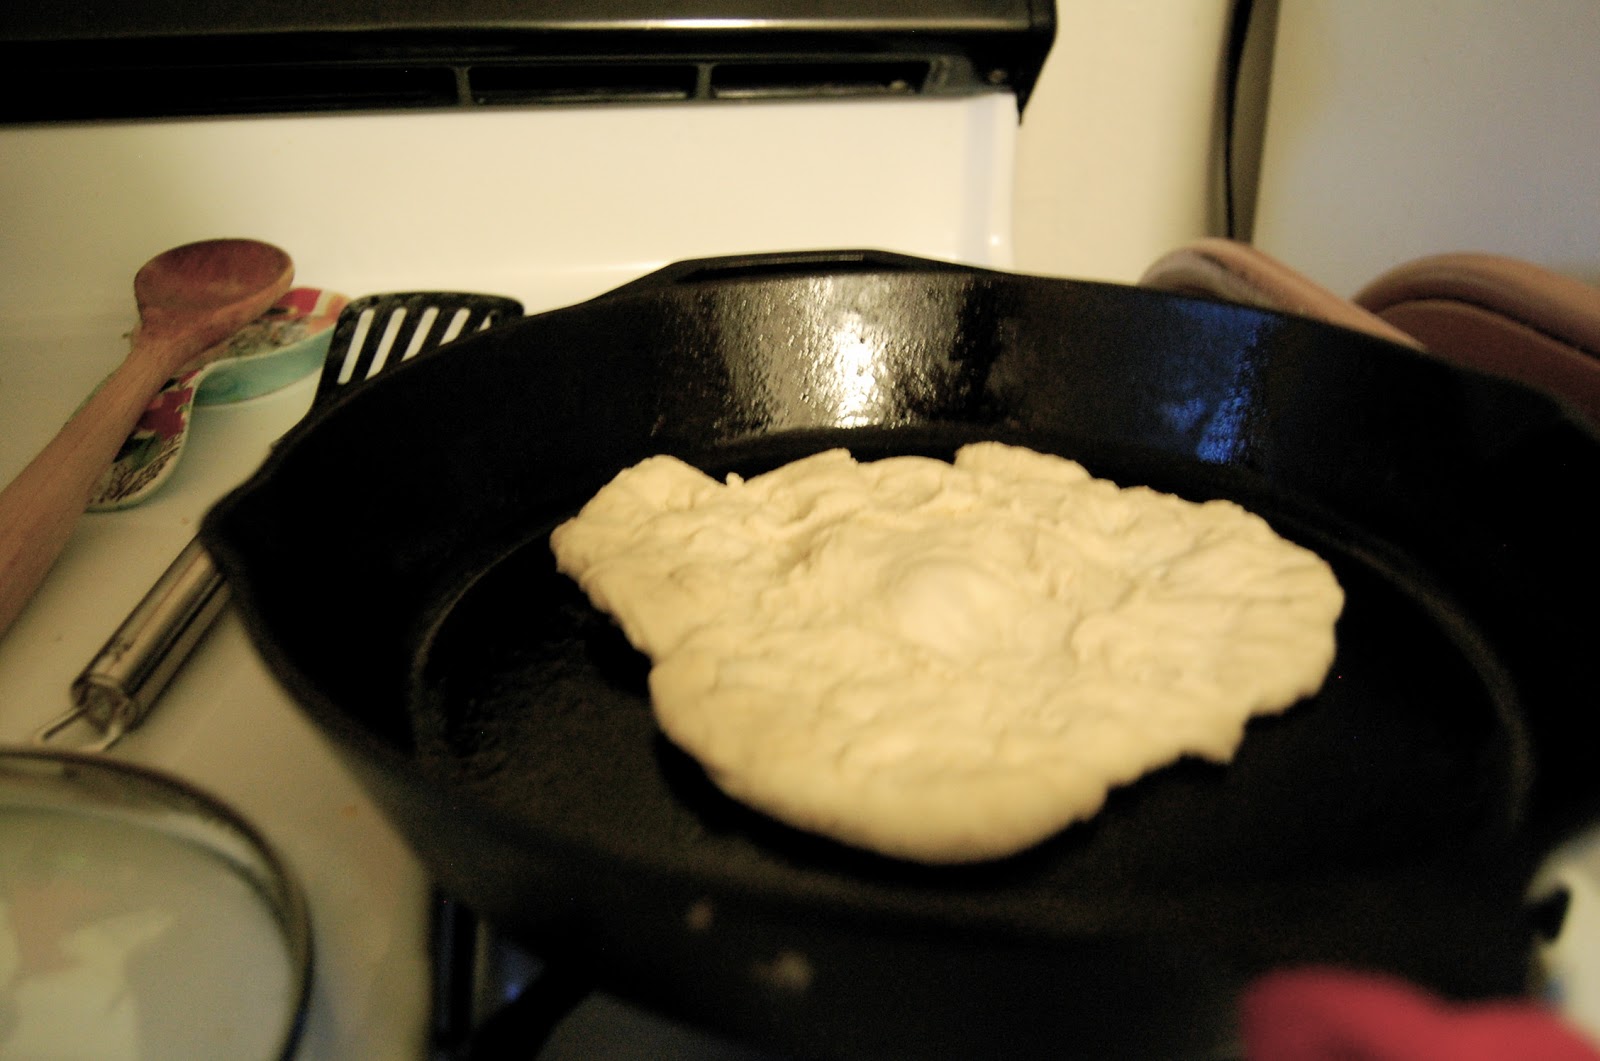
Place one of the tortillas in a hot pan or on a griddle.  Add about 1/2 cup of the pinto beans to the tortilla.  Fold the tortilla over into a taco shape and crisp until slightly brown on both sides.  (The crunchiness of the tortillas really adds to this dish.) Repeat until all the tortillas and pinto beans have been used. Top with the jalapeno feta coleslaw and a couple dashes of hot sauce if you so desire.  Enjoy!

          ................


Monday, April 22, 2013

Sweet Spring Weekend Trip

This past weekend Matt and I got to meet up with our sweet friends in Nashville, Tennessee.  This has become a slight ritual since everyone has started moving all over the US for jobs, family, and just some good ol' fashion change of scenery.  The weekend was beautiful with bright blue skies and lots of smiling faces.  I think it is safe to say everyone who was able to come had a really good time.  For those whose schedule wouldn't allow them to come for this weekend of fun, next time you better be there! (This includes Audrey, Steve, Sarah, and Karl respectively. You all were very missed.)

our kind and generous hostess

the girls having much needed girl time

my favorite addiction

mary's method for ripening pears

Tuesday, April 16, 2013

Homemade Naan and Palak Daal

Oh, Indian food.  How I love thee!  I can't say it enough.  We just love Indian food in this household.  Any chance we get to eat it, we do.  Any time I am feeling exotic in my cooking cuisine, I make it.  It is just a staple around here. If you have been reading this blog for any period of time, the obsession is probably pretty clear.

The other day I embarked on trying another Indian recipe.  This recipe was taken from 101cookbooks.com (Oh, 101cookbooks. How I  love thee!)  Here is the link: Palak Daal  I have made this recipe one time before but did not blog about it at the time.  I was initially drawn to it because it included both lentils and spinach. Two power foods.  Who wouldn't feel powerful, strong, and completely filled after eating those ingredients for dinner? 

I also decided to try something a little different and make some homemade naan.   The naan recipe I used came from allrecipes.com (Oh, allrecipes.  How I feel so-so about you.)  Here's that link: Homemade Naan  To make this naan recipe, all I really needed to do was bust out was my bread machine.  I halved the recipe because I knew we didn't need that much naan hanging around our kitchen.

I actually forgot to take a picture of the finished products because I was so hungry and excited to eat this meal.  I am a little embarrassed to actually type that but it's the truth.  Please forgive the half eaten bowl of palak daal near the end of the photos. This recipe was really good and really filling.  We ate the palak daal over brown rice to increase the whole grains.  Matt loved the naan and it really was easy to make.  They were not perfect in shape or size but they were tasty.  If we make the palak daal again any time soon, I promise I will take a better photo so you can really see the essence of Indian deliciousness. Enjoy!


Sunday, April 14, 2013

Super Awesome Zero Point Smoothie


The other day I was try to find something to fill my stomach that wouldn't be too bad for me or too filling.  I decided to try to make a smoothie type concoction because we had some frozen pineapple that I wanted to use.  When trying to decide this afternoon snack,  I also knew it couldn't have too many Weight Watcher points in it because we were having a big dinner and I would use my daily points with that meal.

So what I ended up with was a smoothie that was super awesome and super easy.  I just added a banana, about two cups of frozen pineapple, and one Fresca into the blender and away it went.  I didn't add any ice or any additional liquid.  The Fresca and frozen pineapple helped make it creamy, smooth, and filling.  This smoothie recipe is a must-try.  If you have diet soda or diet ginger ale, those would be easy no-calorie substitutes for the Fresca.  Since originally making this smoothie recipe on Wednesday, I have made them almost every afternoon after work.  It is my fruit-filled way to unwind from the day.  I hope you enjoy!


          ...............

Super Awesome Zero Point Smoothie

1.5- 2 cups of frozen fruit (i.e. pineapple, berry mix, strawberries, peaches)
1 piece of unfrozen fruit (i.e. banana, grapes)
1 can of no-calorie clear soda

Place all three ingredients in a blender.  Blend on the Ice Crush setting until desired consistency.  Enjoy!

          ...............


Tuesday, April 9, 2013

Sweet Baby E


Some of our sweet friends were recently blessed with the birth of their second daughter.  They asked me if I wouldn't mind taking some newborn pictures of their little girl.  I had never done this before and had no idea what I was doing but was totally willing to give it a try.

Before beginning the photo session, I told my friend that I was just in charge of taking the pictures.  I would let her do all the posing of the baby.  I definitely didn't want to break her 6-day-old child in my very first ever newborn photo shoot.  That would be horrible!  Nearly impossible but still horrible.  It would probably ruin any reputation I was trying to build as a newborn baby photographer.  Take that back. It would definitely ruin any reputation I was trying to establish.

Below are some of the results of the shoot.  As you can see, the baby is not broken but is completely healthy and beyond beautiful.

I loved getting to do this for my friend.  I had so much fun getting to spend time with her, her husband, her friend from out of town, her oldest daughter, and now her newest daughter!  It was such a blessing and a wonderful way to spend a Friday afternoon.  Enjoy!


Sunday, April 7, 2013

Butternut Squash Filled Pasta Shells


This recipe is one I threw together way back before starting this blog.  It was inspired by a Weight Watchers recipe that suggested using butternut squash as a replacement for some of the cheese when making filled pasta shells.  I thought 1) I love butternut squash and 2) it decreases the point value of the meal so why not try it.

Because roasting and cutting butternut squash takes so dang long (I will stop ranting here), I decided to just use the frozen version that you can find in your local freezer vegetable section.  Originally I accidentally ran across these frozen boxes of butternut squash one day while looking for the frozen spinach but since then have been using them on the regular.  They are just wonderful!  It take some of the cost and a ton of the work out of using pureed squash.  Who wouldn't love that?!

When looking at the pictures below, I swear they are not filled with nacho cheese.  While I was making this dish, I kept thinking to myself how much the pureed butternut squash resembled that substance.  Some may be drawn to this recipe because of the resemblance to nacho cheese and some may be turned off.  I would just ask that if you enjoy the ingredients in the recipe, give it a chance.  It isn't too hard to make and ends up being mighty tasty.  This is definitely a dish I am proud of.  I hope you enjoy!


          ................

Butternut squash filled pasta shells
(makes about 4 servings with 6 shells in each serving)

24 pasta shells
2 12oz frozen cooked butternut squash packages found in the freezer aisle
1 8oz neufchatel cheese (or 1/3 less fat cream cheese)
1/2 cup of shredded or grated parmesan cheese
1/4 cup parsley
1/2 teaspoon garlic powder
2 teaspoons salt
1/2 teaspoon black pepper
1 25oz jar of spaghetti or marinara sauce

Begin by bringing a big pot of water to a boil.  This will be for the pasta shells. Cook the pasta shells according to the package instructions.  Once cooked, set to the side and let cool.

Meanwhile, begin defrosting the butternut squash in a microwave safe dish for about five minutes. Once mostly heated through, add the cream cheese the the dish.  Heat again in the microwave for another three minutes or so.  (You do not want the butternut squash and cream cheese mixture to get hot.  You just want it to be mixable.)  Once the butternut squash and cream cheese are mixed together, add the parmesan, parsley, garlic powder, salt, and black pepper.  Stir until combined. 

Pour about 1/2 cup of the spaghetti sauce on the bottom of a baking dish and spread it out evenly.  

Take cooled pasta shells and fill them with about 1/3-1/2 cup of the butternut squash mixture.  Place open side up into the baking dish.  Repeat this process with all remaining shells.  Top shells with the rest of the spaghetti sauce.  Spread evenly.

Bake at 375 degrees for 40-45 minutes or until bubbling or until you can smell the deliciousness of the dish drifting from your kitchen.  Enjoy!

          ...............


Tuesday, April 2, 2013

Back at it with Lemon Cranberry Scones!


After too long of a break, I am back at photographing the creations that have been occurring in our kitchen.  I don't know why but I just didn't feel like blogging for a while.  I think sometimes it is nice to know you have the option to do something and are not obligated to do it.  I, like everyone else, am committed to many people and things. I am committed to my husband, my family, friends, work, watching television (oh, that's where my time went!), church, and so on.  And with so many commitments, I like to know that I can choose or not choose to do some things in my life.  Today I am choosing to blog.  I hope I can be more consistent.  I promise I will try.

So not last weekend but the weekend before, I was scheduled to run in my first ever 5K.  I was very nervous about this but my sweet mother, father, and sister came all the way down here to support me.  My sister even volunteered to run too!  What a champ!  However, the rain gods were not supportive of this run actually happening.  There was so much lightening and thundering they cancelled the entire event!  3,000 women were signed up to run and were not able to.  This decision was definitely understandable when considering the weather but sad at the same time.  I had "trained" for the six weeks prior in order to be ready (or as ready as I could be) for this race.  After learning it was cancelled, I immediately signed up for the next 5K I knew about as to not put all this "training" to waste.  This new 5K is coming up this Saturday morning.  Please send me lots of good wishes, fast speeds, and no tripping thoughts as I attempt to complete this 2013 goal of mine. 

While my mother was visiting that weekend, she helped me make some breakfast items for the hospitality table at church.  She suggested I make a scone (daughter like mother) and I said, "yes, please."  She had previously sent me a recipe for lemon and cranberry scones from the Smitten Kitchen website.  Here is the link: Meyer Lemon and Cranberry Scones  As usual, my mother has wonderful taste!  These scones were light, delicious, and perfect for a spring morning.  I got many compliments on them from the church crew.  If you are needing another scone recipe from this blog site, I would definitely give these a chance.  (I think I am going to have a complete encyclopedia of scone recipes by the end of this process.)  I hope you enjoy!