Showing posts with label pasta. Show all posts

Sunday, April 7, 2013

Butternut Squash Filled Pasta Shells


This recipe is one I threw together way back before starting this blog.  It was inspired by a Weight Watchers recipe that suggested using butternut squash as a replacement for some of the cheese when making filled pasta shells.  I thought 1) I love butternut squash and 2) it decreases the point value of the meal so why not try it.

Because roasting and cutting butternut squash takes so dang long (I will stop ranting here), I decided to just use the frozen version that you can find in your local freezer vegetable section.  Originally I accidentally ran across these frozen boxes of butternut squash one day while looking for the frozen spinach but since then have been using them on the regular.  They are just wonderful!  It take some of the cost and a ton of the work out of using pureed squash.  Who wouldn't love that?!

When looking at the pictures below, I swear they are not filled with nacho cheese.  While I was making this dish, I kept thinking to myself how much the pureed butternut squash resembled that substance.  Some may be drawn to this recipe because of the resemblance to nacho cheese and some may be turned off.  I would just ask that if you enjoy the ingredients in the recipe, give it a chance.  It isn't too hard to make and ends up being mighty tasty.  This is definitely a dish I am proud of.  I hope you enjoy!


          ................

Butternut squash filled pasta shells
(makes about 4 servings with 6 shells in each serving)

24 pasta shells
2 12oz frozen cooked butternut squash packages found in the freezer aisle
1 8oz neufchatel cheese (or 1/3 less fat cream cheese)
1/2 cup of shredded or grated parmesan cheese
1/4 cup parsley
1/2 teaspoon garlic powder
2 teaspoons salt
1/2 teaspoon black pepper
1 25oz jar of spaghetti or marinara sauce

Begin by bringing a big pot of water to a boil.  This will be for the pasta shells. Cook the pasta shells according to the package instructions.  Once cooked, set to the side and let cool.

Meanwhile, begin defrosting the butternut squash in a microwave safe dish for about five minutes. Once mostly heated through, add the cream cheese the the dish.  Heat again in the microwave for another three minutes or so.  (You do not want the butternut squash and cream cheese mixture to get hot.  You just want it to be mixable.)  Once the butternut squash and cream cheese are mixed together, add the parmesan, parsley, garlic powder, salt, and black pepper.  Stir until combined. 

Pour about 1/2 cup of the spaghetti sauce on the bottom of a baking dish and spread it out evenly.  

Take cooled pasta shells and fill them with about 1/3-1/2 cup of the butternut squash mixture.  Place open side up into the baking dish.  Repeat this process with all remaining shells.  Top shells with the rest of the spaghetti sauce.  Spread evenly.

Bake at 375 degrees for 40-45 minutes or until bubbling or until you can smell the deliciousness of the dish drifting from your kitchen.  Enjoy!

          ...............


Wednesday, February 20, 2013

A Fast and Easy Four Ingredient Dinner


We have been eating more "Italian" type dishes lately because Italian often includes delicious ingredients such as cheese, tomatoes, cheese, pasta, cheese, and so on.  (I love cheese.  Have a mentioned that?) Like I have said before, I am really not that into Italian food normally but for some reason pasta is hitting the spot these days.

The recipe included below is one that I made last week and again tonight for dinner.  When I made it last week Matt was very skeptical of how it looked and how it would taste.  He actually avoided eating dinner until 9 or so at night because he was that weary.  However, as soon as he took a bite, he said with great surprise, "This is really good."  Of course, those are the words every cook would love to hear.  When he requested it again this week for one of our meals, I was ecstatic.  It is such an easy meal to throw together and also very filling.  And who doesn't love cheese in a dish?  Certainly not me.


          ...............

Cheese Tortellini with Broccoli and Browned Butter

3 large broccoli florets (about 1 3/4 pounds)
4 tablespoons butter
1 pound of fresh or frozen cheese tortellini
3/4 cup of grated pecorino romano cheese

Steam the broccoli until very soft and it can be mashed easily with a fork.  After steamed, set to the side in a pot.

While broccoli is steaming, bring a large pot of water to a boil for the tortellini.  Cook tortellini according to the directions on the package.  

Meanwhile, begin heating the butter in a separate skillet.  Let butter melt and cook over the heat until slightly browned and has a nutty smell.  Set to the side.  

While the broccoli is still in a separate pot, mash the broccoli with a large spoon for about 20 seconds.  This will allow some of the broccoli pieces to act like a pesto and cover the tortellini noodles.  

Add pieces of broccoli to the tortellini and mix. Pour browned butter over the broccoli and tortellini and mix.  Add grated cheese and salt to taste.  Enjoy!

          ...............

Monday, January 21, 2013

Arugula Butter: A Zesty Butter Addition


This past weekend has been a creative and cooking filled weekend for me.  I have loved it!  On two separate occasions I have pulled out my food processor to help in the cooking preparation.  My food processor and I have a love/hate relationship.  I hate cleaning this monster of a cooking device after using it, however, I always love the end result of whatever food item I am trying to create.  As I am thinking and writing at this moment, I am quickly realizing that my love for this magical machine quickly outweighs my disliking of washing dishes.  The way my food processor can chop, mince, and complete obliterate any item placed in it always blows my mind.  It is seriously magical to watch.  (If you don't have a food processor, I highly recommend you get one.  Your life will be changed forever.)

I have used arugula butter in previous recipes but have only made it in small batches at a time.  While trying to see what leftovers we had in the refrigerator, I found a huge bag of arugula I had bought last Sunday at the Farmer's Market.  I had completely forgotten about it!  As I inspected the bag, I noticed only a couple of the leaves were slightly wilted and looking on the older side.  I was actually quite impressed with this because sometimes those bags of salad only seem to last four or five days before going bad.  This arugula had made it an entire week hidden in a corner of the fridge.

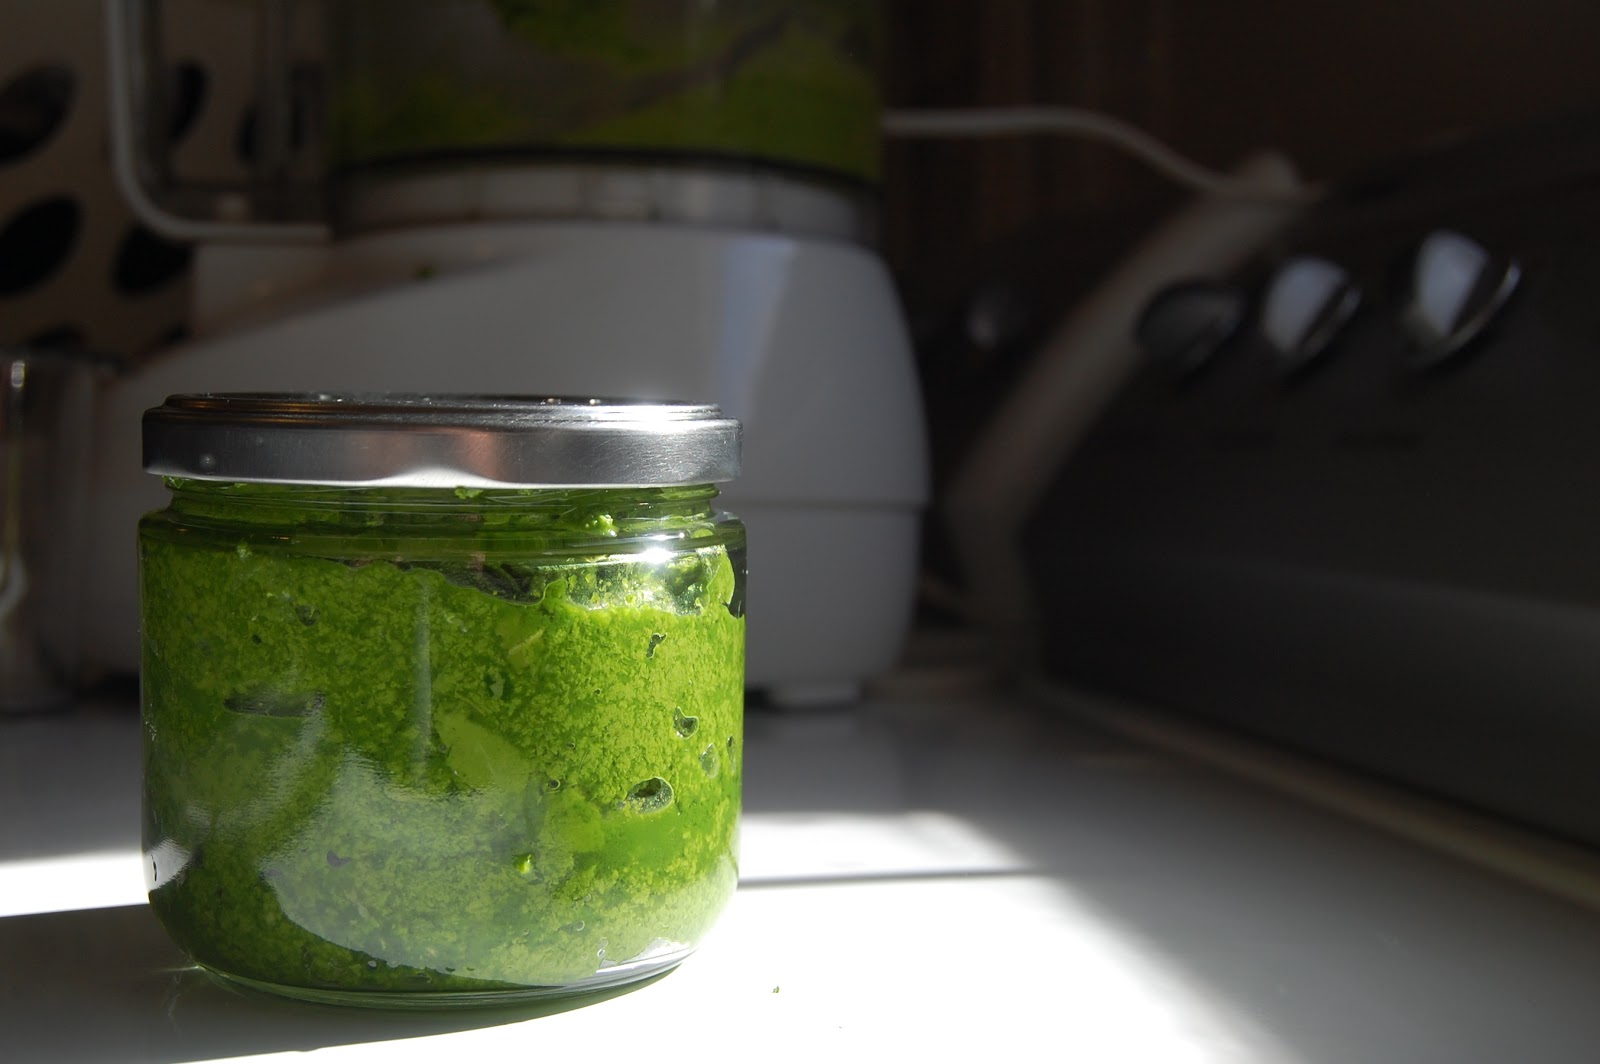
In hopes of not loosing the entire bag of delicious arugula to wilted grossness in the next couple days, I decided I was going to use it to make a large batch of arugula butter to keep in my fridge for later use.  I love to throw a spoonful of this butter on hot couscous or even whole wheat pasta.  It adds such a zest and peppery taste to a possibly plain pasta or grain dish.  Sprinkle these dishes with some parmesan cheese and you got yourself simply a masterpiece.  I hope you enjoy!
          ...............

Arugula Butter

1 stick unsalted butter, chopped into tablespoon blocks
7-8 cups of arugula
1 tablespoon and 1 1/2 teaspoons lemon juice
1 1/2 teaspoons kosher salt

Place blocks of butter in food processor along with two cups of arugula.  Pulse for about 10 seconds or until most of the arugula is mixed with the butter.  Add two more cups of arugula.  Pulse until mixed.  Continue adding and pulsing until all the arugula has been added.  Pour in the lemon juice.  Pulse.  Add salt.  Pulse for about 10-15 more seconds or until desired consistency has been reached.  Taste and add more salt if needed.  Store in a sealed container.

          ...............


Monday, January 14, 2013

Gnocchi with Squash and Kale


Squash.  What a wonderfully diverse food!  There are so many varieties of squash with each having such unique and different flavors.  My one main gripe about squash (particularly butternut squash) is it takes so long to prep.  If you are wanting to use a butternut squash you first have to peel it's hard skin, then seed it, and then chop it.  And the actual chopping can be really hard to do.  Those butternut squashes are tough!

But once all the work is done, having fresh cut squash is one of the best things around.  You can roast it, boil it, mash it, or cook it with just about anything.  Yesterday I made Gnocchi with Squash and Kale from the Food Network website.  Here is the link to a recipe:  http://www.foodnetwork.com/recipes/food-network-kitchens/gnocchi-with-squash-and-kale-recipe/index.html

I found this recipe while looking for a pasta-type dish to go along with a bottle of Merlot.  Matt and I have decided to expand our wine repertoire throughout 2013.  We know nothing about wine so we are seriously starting from the beginning.  We know we like red wines and that is about it.  This week we chose the Merlot because it was red and because it was on sale at Publix.  (Any wine suggestions you might have are clearly welcome.)

Back to the recipe.  This dish was quite tasty.  The gnocchi was a nice change from a normal pasta or rice type dish.  When I made it, I doubled the butternut squash and kale amounts that the original recipe called for.  I found that doubling those two ingredients was ideal in the end.  I didn't double the cheese or butter and it still turned out creamy and delicious.  Matt gave this recipe a four out of five chicken wings overall.  He said the butternut squash was a little soft for his liking.  I gave it a five out of five because it was so rich, warm, and filling but only about 10 Weight Watcher points per serving according to my calculations. I had it again today for lunch and relished every bite.   Enjoy!


Wednesday, December 19, 2012

Sun-dried Tomato Pesto

 For some reason, I have recently been on an Italian food kick.  I am not normally draw to anything Italian (besides pizza) so this desire is kind of strange to me.  The other day I decided to make a pesto and pasta dish inspired by this one at 101cookbooks.com: http://www.101cookbooks.com/archives/red-pesto-ravioli-recipe.html

Instead of using straight olive oil in my pesto, I decided to swap out about 90% of the olive oil for chicken broth.  With the ingredient switch up, I only actually used 2 tablespoons of olive oil in the entire pesto.  The original recipe calls for 1/3 cup.  For those of you out there that can eat olive oil and not gain five pounds the next day, feel free to ignore my substitution.  However, if you are slightly oil conscious (or hip conscious), try the substitution.  It actually turned out to be a really nice swap.  After Matt had finished his meal, I told him I used chicken broth instead of olive oil.  He said he hadn't noticed any texture difference or taste difference at all.  I consider that a win.

Overall this meal took about 20 minutes to make from beginning to end.  It was so easy to just pull out the food processor, pulse the pesto up, cook some noodles, mix, and serve.  We had our sun-dried tomato pesto over whole wheat spiral noodles mixed with wilted spinach.  It was topped with delicious goat cheese.  If you try it, I hope you enjoy!


Sunday, December 16, 2012

Spinach and Ricotta Lasagna Rolls


A couple weeks ago I made a spinach artichoke lasagna that was just not so good.  I had been having a lasagna craving and decided to try a new vegetarian version that I had found.  I didn't even blog about it because neither Matt nor myself enjoyed it at all.  You know how the leftovers can sometimes be better than when the dish is originally served?  Well, that didn't even happen in this situation.  It was definitely a bummer.

So because my lasagna craving was not fulfilled and because we had extra spaghetti sauce and noodles hanging around, I decided to make my own attempt at fulfilling my craving.  If a recipe on allrecipes.com can't do it, I will take things into my own hands.  

Below is my recipe for Spinach and Ricotta Lasagna Rolls.  I was so happy with how they turned out.  This recipe doesn't make a lot so if you are planning on making it for more than three really hungry people, you might need to double the recipe.  For some reason, in my mind I could see kids really like this dish.  The rolls are fun to look at and to put together.  In my experience with lasagna, I have sometimes found that the layers fall apart because they are so filled with sauce and vegetables.  This dish definitely didn't do that.  It is stayed in tact and wasn't so messy to eat.  I hope you enjoy!


This was actually a really fun meal to make and came together a lot easier than I expected.  Outside the noodles cooking and the actual baking time, I think the prep time for everything else was about 15 minutes.  The sauce cooked up nicely in about 10 minutes and while it was bubbling away, I chopped the spinach and mixed it with the ricotta and parmesan. After the noodles were cooked, spreading the cheese and spinach filling on them and rolling them up just took a couple more minutes.

          ...............

Spinach and Ricotta Lasagna Rolls
Prep time: 15 minutes
Cook time: 35-40 minutes
Makes 9 lasagna rolls which could serve about 3-4 hungry people (along with other sides).

Sauce
3 cloves of garlic
1/4 teaspoon of red pepper flakes
1 1/2 cup of spaghetti sauce
1 8oz can of tomato sauce
1 teaspoon onion salt
1 1/2 teaspoon of oregano

Noodle Roll Filling
3 cups spinach, coarsely chopped
3/4 cup of grated parmesan cheese
1 15 oz part skim ricotta cheese
9 lasagna noodles

Preheat oven to 350 degrees.  In a large pot, add salted water and begin to heat.  Once the water is boiling, add noodles.  Cook until just tender.  Strain and let cool. (I quick cooled the noodles by running cold water on them after they were done.)

Meanwhile, pour about a teaspoon of olive oil into a large sauce pan and place on stove at a medium low heat.  Add the garlic and red pepper flakes and cook for about 2-3 minutes.  Stir to prevent burning. Add the spaghetti sauce, tomato sauce, onion salt, and oregano.  Continue stirring.  Heat until the sauce is warmed through and then place the pan to the side.

For the spinach and ricotta filling, coarsely chop the spinach and place in large mixing bowl.  Add the ricotta and parmesan cheese.  Mix well.  Salt and pepper to taste.

Once the noodles are cooked and cooled, lay them out on a flat surface.  Starting at the front of the noodle, spread about 1/3 cup of the spinach and ricotta filling on the noodle.  Only spread the filling about 3/4 of the way up the noodle.  Then starting at the front of the noodle, roll it up and place it in a oven safe dish.  Continue this process until all the noodles and filling are used up.  Then take the sauce and pour it over all the rolls.  Make sure it is spread as evenly as possible over the top of the noodles.

Cover the dish and bake for about 20 minutes.  Then uncover the dish and bake for about 15-20 more minutes or until the sauce begins bubbling around the edges. Enjoy!

          ...............


Friday, October 26, 2012

Baked Tomato Risotto


Today is Friday.  One of the best days of the week.  When you begin Friday, you know the two days before you hold so many possibilities of freedom.  Freedom to get up whenever you want, to eat lunch/dinner whenever you get the urge, to go wherever your heart leads you.  I love the weekends.

Today's recipe was made on a Thursday evening on the eve of the weekend glory.  Unfortunately, this dish was anything but glory-filled in the eyes of my supportive husband.  Although I enjoyed this dish, sweet Matt didn't seem to get into the tomato sauce on rice aspect.  In the end, watching him eat while trying to act like he was enjoying this dinner was one of the best parts of the meal.  He was trying to hard to like it.  After thinking it over, he concluded the sauce would have been better on pasta.  I did agree that it needed something else with it, something a little more substantial.  However, I ate it that night and the next day for lunch, loving it both times.

Here is the link to the recipe: http://www.101cookbooks.com/archives/baked-farro-risotto-recipe.html  If you happen to give this recipe a chance, would you mind letting me know what you think?  I would really appreciate that.  And if you do try it, I hope you enjoy!